Properly Freeze Vegetables for Healthy Tasty Meals
How growing up in a predominately agricultural community in Canada taught me skills I use today to prepare healthy and tasty meals even when fresh produce may not be readily available.
Learning how to properly freeze vegetables is an incredible way to reduce waste when you have extra produce you you may not be able to consume before it goes bad.
Sustainable Living
Our family grew almost all of the fruit and vegetables we consumed, proper harvesting and storage fed us year round with little to no waste.
As a child, I remember I would have done anything for processed food and felt pretty hard done by that my family could not afford such luxuries.
Today however, in a society where I am conscious of what we put into our bodies and the concerns we have for our environment I realize that the way I was raised is quite remarkable.
My family did not produce much garbage which can amount from eating packaged or processed food.
We were quite eco-friendly too by reusing our canning jars year after year.
But the real luxury was that by properly freezing our fruits and vegetables there was always produce available in our home to make nutritious meals.
Summer Vacation in an Agricultural Community
Our school break for summer “vacation†was reserved for all things gardening; planting, weeding, watering and harvesting.
We shucked corn, shelled peas, stemmed and cut green beans and so on. Our family ate like kings all summer long, and prepared the excess harvest for winter storage.
Mom taught us how to can, pickle and freeze our fruit and vegetables. We made sauces with tomatoes or froze them whole. Corn was cut off the cob and the kernels were prepped for freezing. Peas were my favorite as a kid but it took forever to shell enough to freeze. (I admit that may have had something to do with eating more than what ended up in the bowl)
Reaping the Rewards Regardless of the Season
I remember my mother would send one of us down to the basement to take out veggies from the freezer. They always tasted as wonderful as the day they were harvested. And on special occasions we were asked to take out one of the frozen fruit pies so we could enjoy a burst of summer in the winter months.
As a kid, learning how to properly freeze produce was one of my many chores. Today it’s a life lesson I’m happy for. Even though I don’t have the space to grow my own vegetables the lessons still apply.
When I find my self with more fruit or vegetables than I can consume before they go bad. Or when a particular item at the grocery store is about to go out of season but I know I’ll want to have it on hand later – I freeze it!
Blanching 101- How To Properly Freeze Vegetables
Here are easy step by step instructions to maintain flavor, color, texture and nutrient content when freezing vegetables.
Step 1 – Wash and prepare vegetables just as you would if you were going to cook and eat them at that moment.
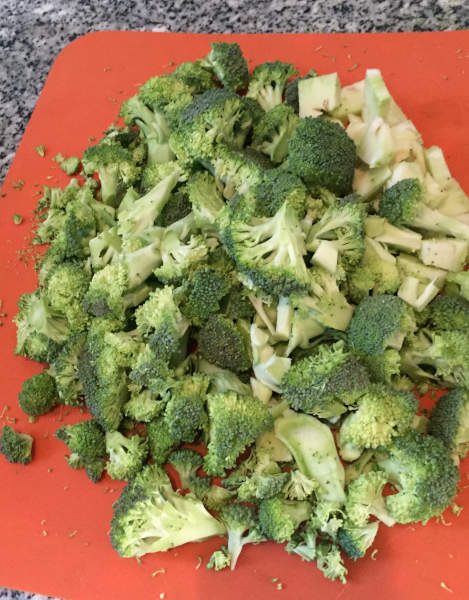
“Here I have washed and chopped broccoli to the desired size. It is important to cut the pieces into roughly the same size to ensure even cooking.”
Step 2 – Place prepared vegetables in a large pot and add 4 liters of water for every half kilo of produce. Heavily salt the water, approximately ¼ cup of salt per 4 liters. I like to use pink rock salt but regular table salt is fine.
Step 3 – Prepare an ice bath by placing 2-3 cups of ice in a large mixing bowl and fill halfway with clean drinking water and set aside.
Step 4 – Place the pot of vegetables on your stove top. Set burner on med-high heat and bring water to a boil. Once the water is boiling leave for 30-60 seconds, remove vegetables from heat and drain water.
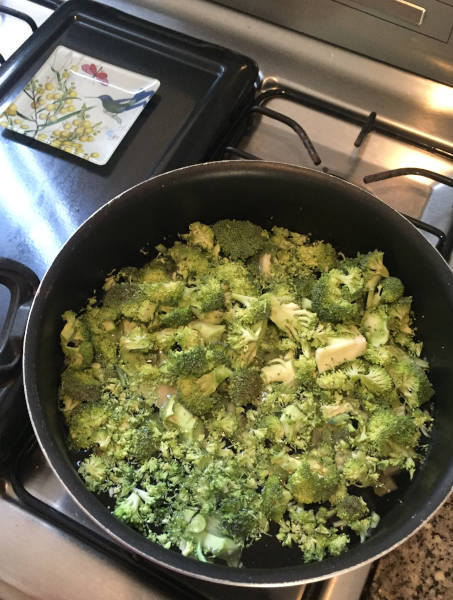
“Watch carefully, you don’t want to cook the veg for more than 60 seconds.”
Step 5 – Immediately transfer vegetables to the ice bath and stir, this shocks the produce and stops further cooking. Continue to stir for 5-10 minutes to ensure even cooling then drain water fully. Once drained you can pour vegetables onto a clean dish towel to remove any excess water.
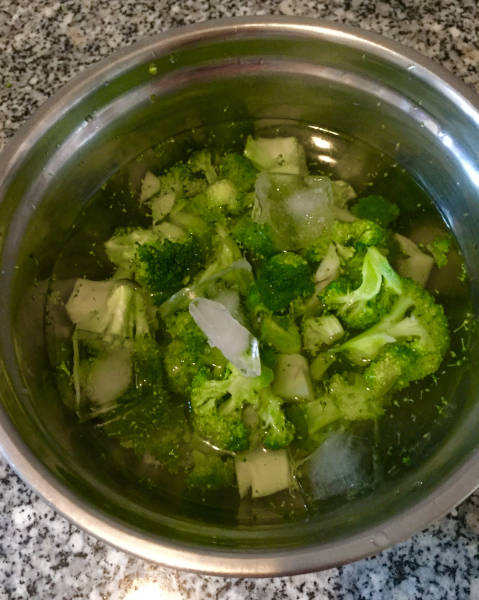
“Stir for even cooling.”
Step 6 – Once the excess water has been drained, divide vegetables into desired portions and place in freezer bags or container to be frozen.
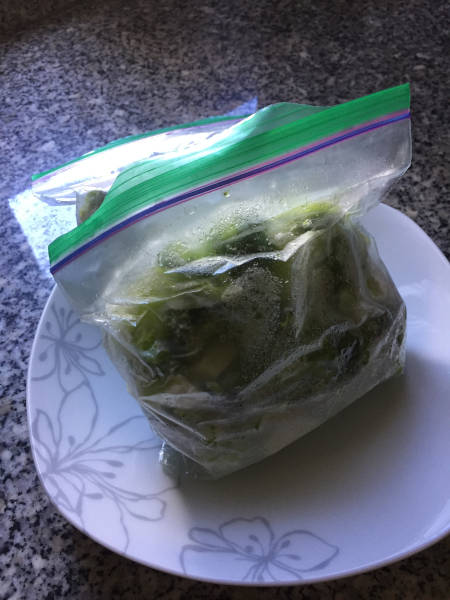
“Portion size ready for the freezer.”
To use: add the frozen vegetables directly to your recipe, do not defrost first as that will change the texture. Please note vegetables will need a little less cooking time as they have been partially cooked in the blanching process.
Fruits generally do not need blanching and can be easily frozen. Cube or cut in equal sizes and place on a baking tray in a single layer then freeze. Once frozen remove the fruit from the tray and bag in portion sizes or in reusable plastic containers.
My favorite tip to reduce waste “Don’t throw away those peels!”
Use all your non starchy vegetable peels and ends (e.g. carrots, zucchini, broccoli, cauliflower, asparagus, spinach, kale, brussels sprouts) to make your own veggie stock.
Keep a large zip lock bag on the go in the freezer and when ever you are prepping vegetables keep the peels/ends to add to the bag until full.
1 large zip lock of peels and ends that would have normally ended up in the garbage will yield 1 liter of vegetable stock. You can use your homemade stock in dozens of recipes, just remember to season to you taste.
There you have it! No more waste and a healthier way to eat.
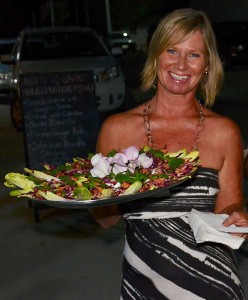
Thanks for visiting, Susan